piecing it all together

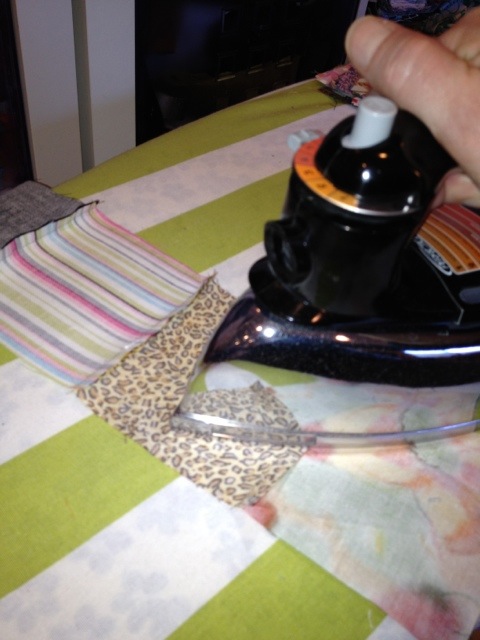
Sewn together rows of the scrappy pioneer quilt – mentioned then briefly worked on… for 3 solid hours yesterday, now resting on the ironing board in their ascending order.
Here is the quickest & most efficient way I have found, to get the squares sewn into rows:

When I gathered up all of the squares off the floor, in their order, I kept the first square (the one from the end of the row) on top then added the rest of the row underneath #1 square.

When sewing the squares together establish a width for the seam allowance and stick with it. In this case, I lined up the edges of the fabric squares with the edge of the presser foot for my seam allowance. If your seam allowances are the same all the way for every square you sew together throughout the rows, then lining up the corners of the squares when sewing the all the rows together will be simple, and it will look like you are a professional.

Sew square #1 to square #2, square #3 to #4, square #5 to #6– one right after the other.

Clip off the 1-2 combo and 3-4 combo and sew square #2 to square #3.

Right after you have 1-4 combo sewn together, sew square #7 to square #8, snip off 5-6 combo.

Sew square #4 to 5-6 combo, building onto the row.

Follow immediately by sewing together square #9 to square #10 and clipping off 7-8 combo to add to the growing row.

Sew square #6 to 7-8 combo. Continue in this pattern of continuous flow until you reach the end of the pile of squares in your lap that make up a row.

Your finished row will look like this, all sewn together with the same width seam allowance and all ready to be ironed flat. You can skip actual numbering with a little concentration. I try to always keep the next square in line on the top when sewing the next two square together, so you know which fabric comes next in your sequence- or talk to yourself as you sew, “purple polka dot to the orange floral…” and keep on muttering as you built- if it helps!

Do not skip the ironing part! It’s so extremely helpful to have the seams laying nice and flat and in their proper place.

Turn the row over and iron flat on the other side.
 Place the finished, ironed rows in order as you finish them- remember to enjoy the journey, you’re more than halfway through the piecing the quilt top now. Piece of cake, right?
Leave a Reply